Designing Your Own Game Controllers for Personalized Play Styles
The Art and Science of Custom Game Controllers
In the world of gaming, the controller is an extension of the player. It is more than just a tool; it's a gateway to immersive experiences. While many are content with factory-standard controllers, an increasing number of gamers are taking control, quite literally, by designing their own personalized game controllers.
Personalized controllers can significantly enhance gameplay comfort and performance by aligning more closely with a player's individual play style. This article delves into the process of creating these unique peripherals, exploring various materials, customization techniques, and design strategies. We'll look at step-by-step examples illustrating how unique features can be implemented to improve both comfort and in-game performance.
Why Customize?
Customization allows players to tailor their controllers to their specific needs and preferences. This can lead to improved ergonomic comfort, enhanced aesthetic appeal, and better performance in-game.
- Ergonomic Benefits: Customizing the shape and button layout can reduce strain during long gaming sessions.
- Aesthetic Appeal: Personalized designs can reflect a player’s personality or fandoms.
- Performance Enhancements: Features such as trigger locks and programmable buttons can provide competitive edges.
Materials and Tools Needed
The journey to creating a custom controller begins with understanding the materials and tools required. Different projects may require different supplies, but here are some general essentials:
- Base Controller: A standard controller model that matches your console or PC platform.
- Screwdrivers: Various sizes of Phillips and Torx screwdrivers will be necessary to open and modify the controller shell.
- Soldering Kit: For rewiring buttons or adding new electronic components.
- 3D Printer (optional): Ideal for creating custom buttons or shell pieces.
- Paints and Finishes: Acrylic paints or spray paints designed for plastic can give your controller a unique look.
Choosing Your Base Model
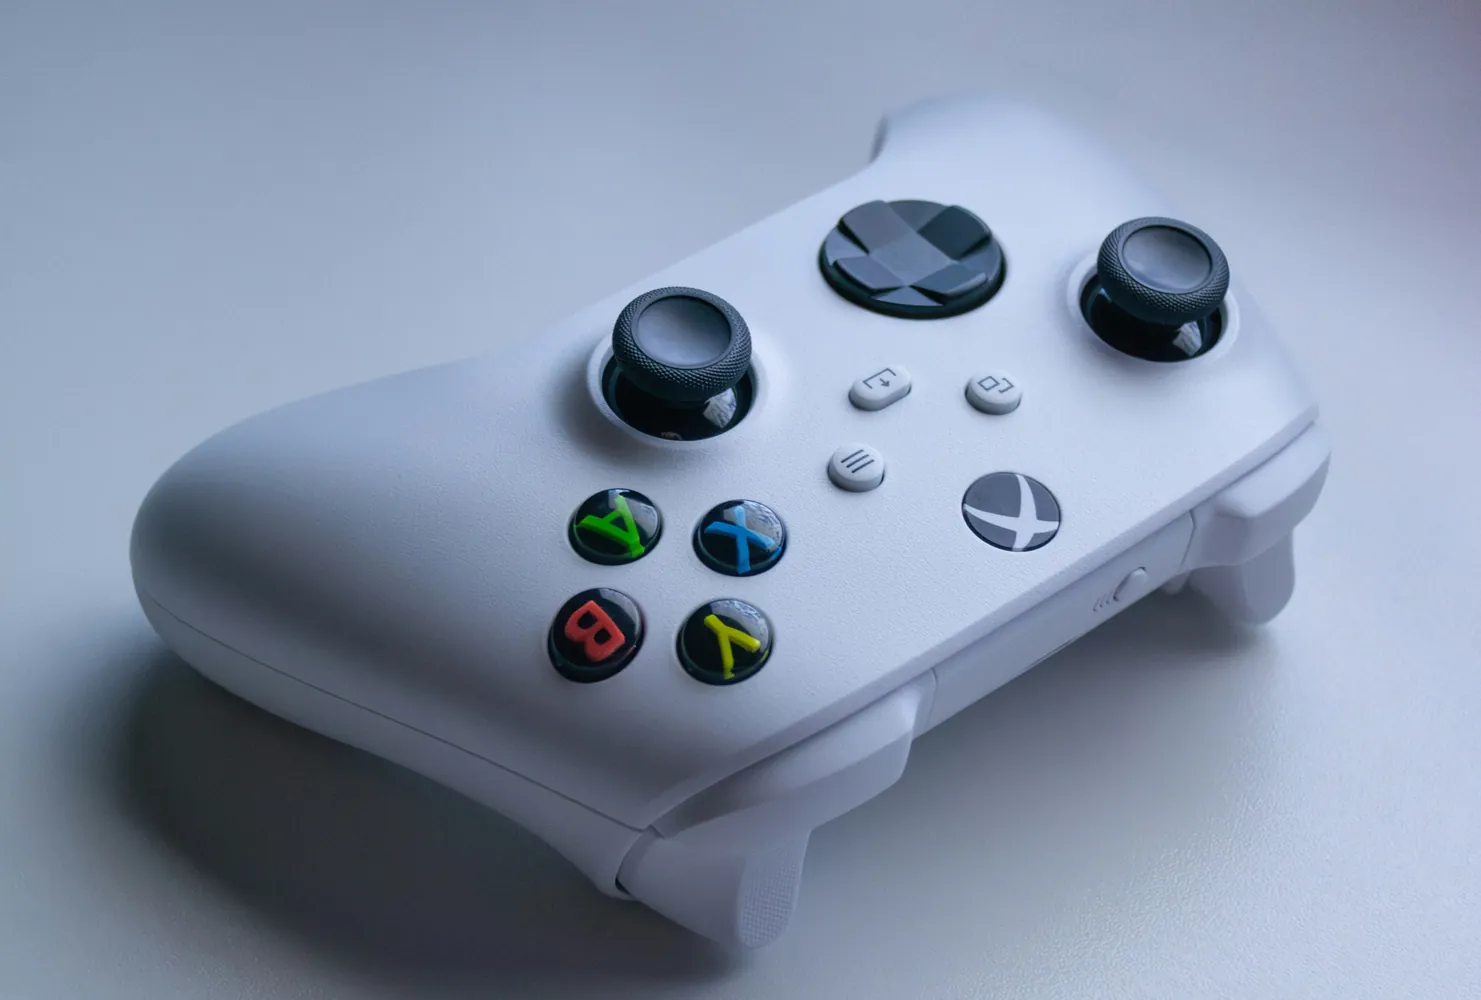
The choice of base model is crucial as it determines compatibility with your gaming system. Popular options include Xbox controllers for their ergonomic design or PlayStation controllers for their touchpad features. It's vital to choose one that you're comfortable holding over long periods.
Designing Your Unique Features
Once you have your tools ready, it's time to start designing the features that will make your controller truly yours.
Ergonomic Adjustments
Consider modifying the grip areas with silicone moldable glue or similar products to create custom contours that fit your hands perfectly. This can significantly reduce hand fatigue and increase control precision.
Button Reconfiguration
Reconfiguring the button layout is another popular customization. By using a soldering kit, players can remap existing buttons or add new ones. For instance, many competitive players prefer additional paddle buttons on the back of the controller for quicker access to critical in-game actions.
Trigger Modifications
Adding trigger stops or shortening trigger pulls can improve reaction times in first-person shooters. These modifications are often simple mechanical adjustments but can drastically affect gameplay performance.
The Aesthetic Touch
Aesthetics are an integral part of personalization. They not only make a controller visually appealing but also enhance the psychological bond between player and game.
Painting and Decals
Acrylic paints or spray paints designed specifically for plastic can be used to create striking designs. Applying custom decals or stickers can also add flair without needing artistic skills.
LED Modding
Incorporating LED lights into the controller can make it stand out even in dim environments. These mods often require basic wiring skills but result in dramatic visual effects.
Putting It All Together
After gathering all your parts and deciding on the modifications, the next step is assembly. Follow these steps carefully to ensure everything fits together perfectly:
- Disassemble the controller by removing screws and gently separating the shell halves.
- Implement any button reconfigurations or new component installations.
- If painting, ensure shells are properly primed before applying paint coats.
- Allow painted parts to dry completely before reassembly to avoid smudging.
- Screw the shell back together securely after all modifications are complete.
Troubleshooting Common Issues
While assembling your custom controller, you might face some challenges. Here are common issues and how to address them:
- Poor Paint Finish: Ensure surface is clean before painting and use multiple thin coats rather than a single thick coat.
- Button Malfunction: Check solder joints for cold connections if buttons aren’t responding correctly.
When to Use a Custom Controller
Custom controllers are not always necessary for every player. Here’s when you might consider creating one:
- If you experience discomfort or strain during extended play sessions, ergonomically customized grips may help.
- If you’re competing at high levels where milliseconds matter, mechanical tweaks like trigger stops can offer advantages.
- If you simply want a unique aesthetic expression that reflects your personality or favorite games, custom visuals are worthwhile investments.
The Future of Custom Game Controllers
The demand for personalized gaming equipment shows no signs of waning. With advances in technology such as 3D printing becoming more accessible, gamers have more tools than ever to craft their ideal controllers. Communities dedicated to modding continue to share innovative techniques online, making it easier for newcomers to learn and experiment.
Your journey into designing personalized game controllers not only enriches your gaming experience but also connects you with a broader community passionate about creativity in gaming. By tailoring every detail from aesthetics to functionality, you enhance both your enjoyment and competitive edge in whatever virtual worlds you explore.